Our Workday integration allows you to sync your employee data with My.Drewberry. This occurs automatically after integration, saving you the time and effort of manually uploading data.
Before integrating your Workday account with My.Drewberry, see how it works to make sure it fits your vision for data management in My.Drewberry.
Check Your Employee Data
Prior to starting the integration, check your employee data is up to date in Workday.
This includes:
- Employment Start Date
- Name
- Address
- Date of Birth
- Gender
- Salary
- Location/Site
- Employee Type
- End Date.
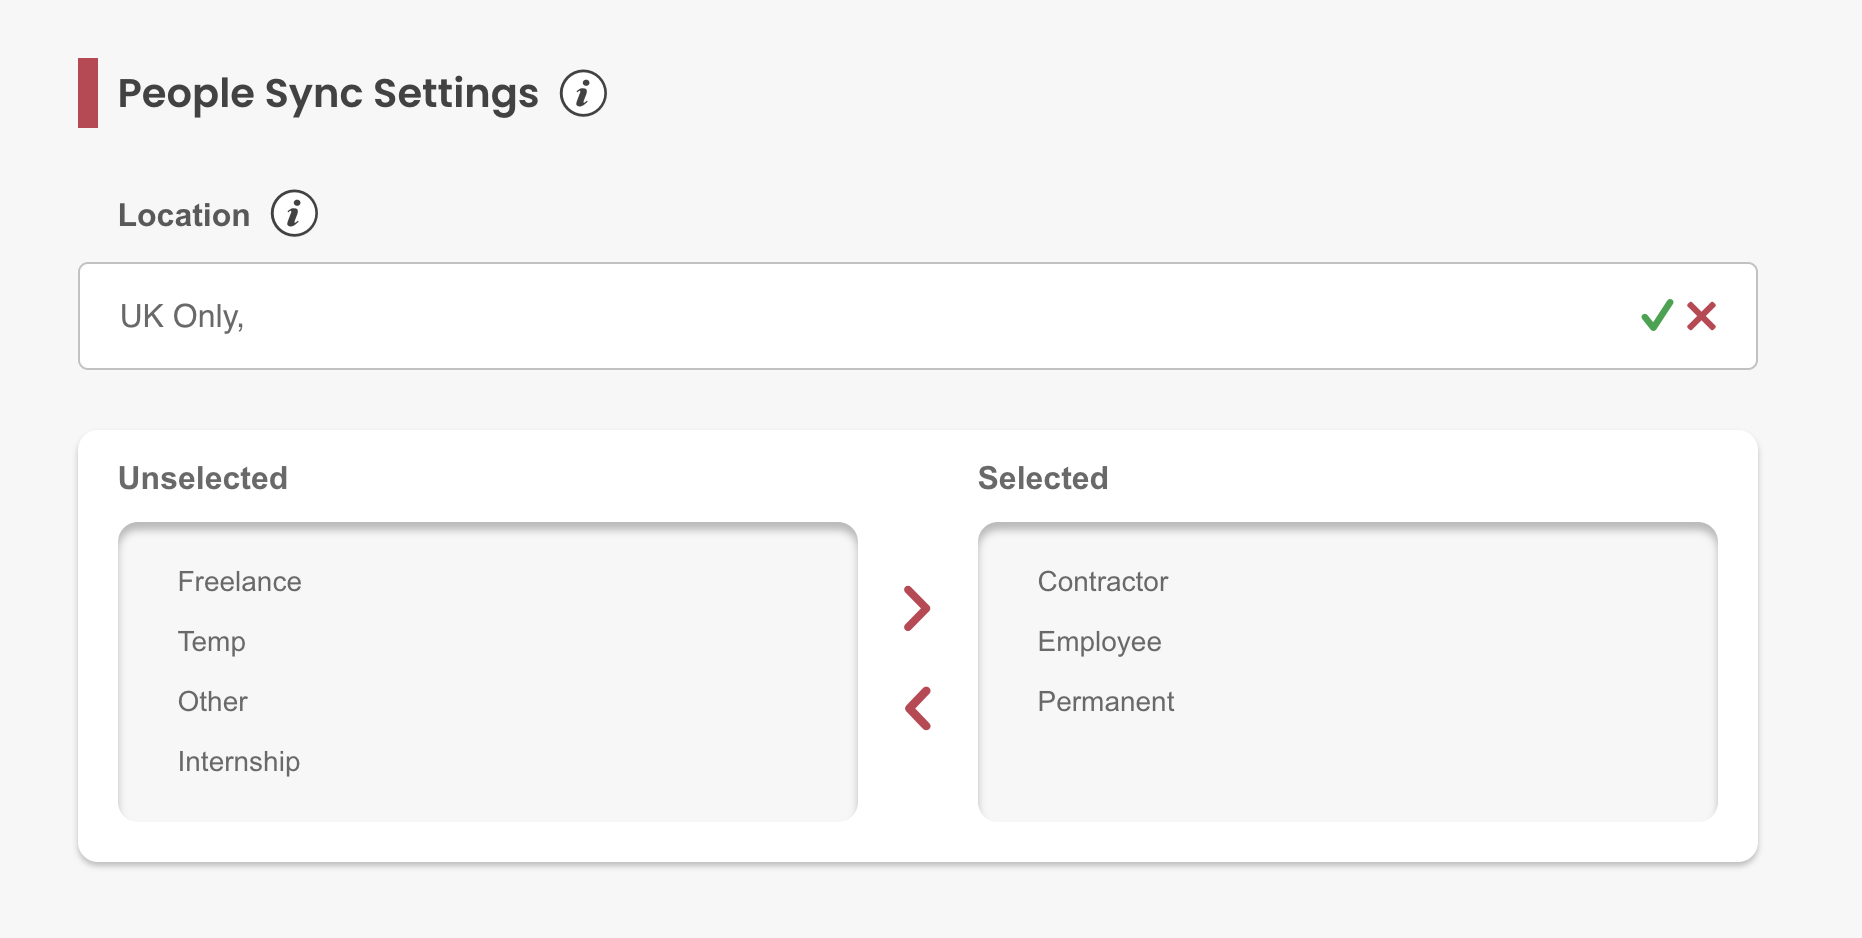
If you have more niche categories to sync, such as a specific location, we can limit the data we retrieve for the platform based on these filters.
How Does Workday Integration Work?
The integration will:
- Update any employees who currently exist in Workday data as per the data fields included above
- Add any employees who are in Workday, but not in My.Drewberry based on the People Sync filter
- Move any employees past their end date to the leavers section and trigger the removal of these individuals from their benefits.
Once integrated, any changes made in Workday override any changes manually made on My.Drewberry.
New Joiners From Workday
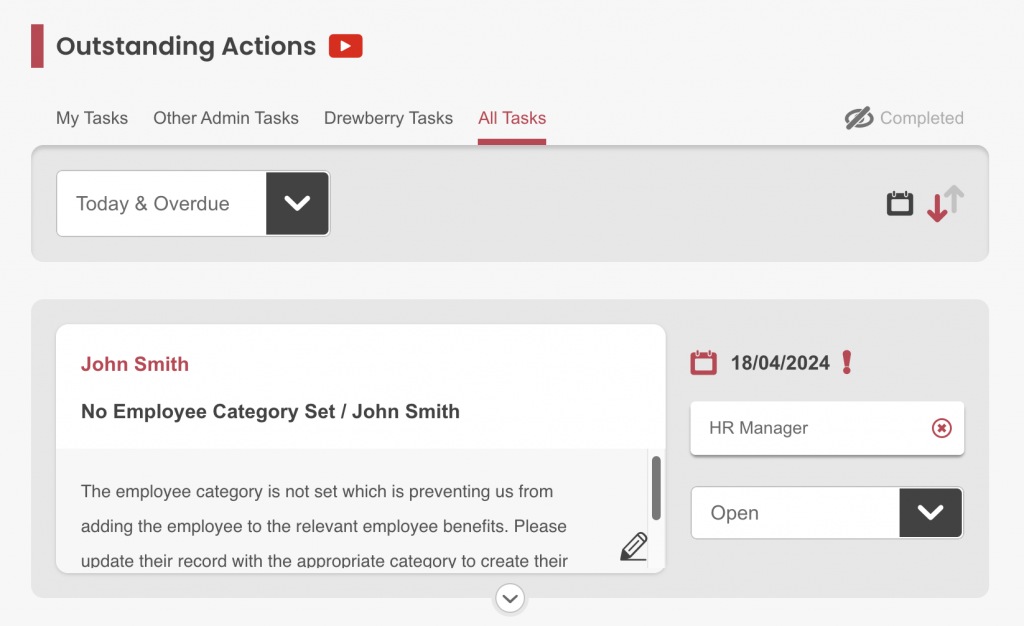
When setting up your My.Drewberry platform, we select an employee category to enrol employees into the benefits they’re eligible for. This feature is unique to My.Drewberry, which means it’s not set when new joiners are added to the platform via HRIS sync.
After adding a new joiner via Workday, you’ll receive a task in My.Drewberry to add them to the correct employee category. See the No Employee Category guide on the hub for more details.
Connecting Workday To My.Drewberry
Integrating Workday with My.Drewberry couldn’t be easier. See it in action below 🤩
1. Go To The “Manage Employees” Tab In The Admin Centre
Click “Integrate HRIS” to access the integration tool.
![]()
2. Ensure Your People Sync Settings Are Correct
If there is a specific site or type of employee you want to sync, our People Sync function enables the data to be filtered from Workday. By specifying the type of employee, for example, we’ll limit the data we gather to those requested categories.
NOTE: If you leave the People Sync blank, all employees from Workday will sync.
3. Add New Integration
When you’re happy with your People Sync settings, click “Add New” to begin the integration.

4. Search For The Workday Integration
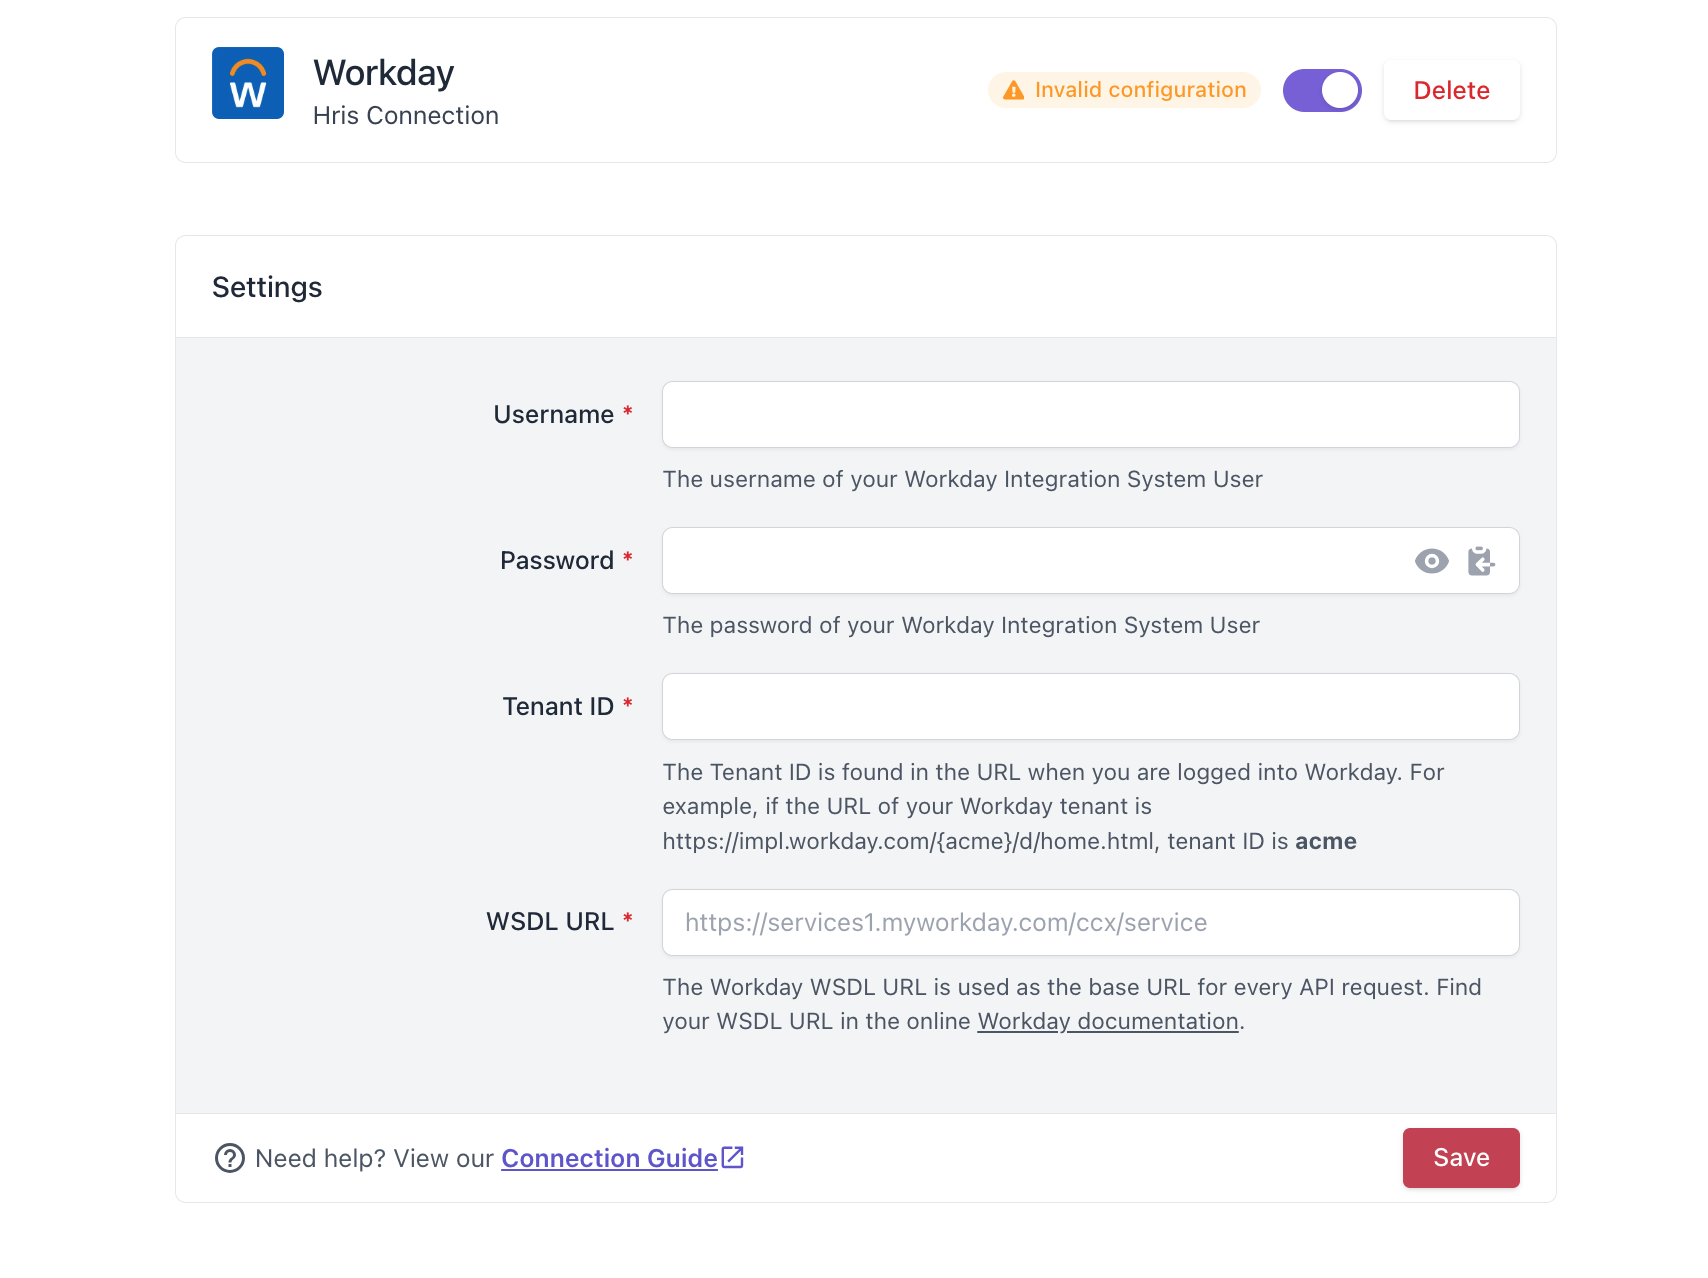
From the list of integrations, search for Workday. You will be prompted to add your:
- Username
- Password
- Tenant ID
- WSDL URL.
The Tenant ID
The Tenant ID can be found in your URL when you log into Workday. For example, if the url is https://impl.workday.com/{super}/d/home.html, tenant ID is super.
The WSDL URL
The WSDL URL is the base URL for every API request. You can find your WSDL URL in Workday’s online documentation.
5. Time To Go To Workday
Log into your workday account. You must be an Org Admin, Integrations Admin, or Integrations Admin-People to complete the integration.
Create The Integration Service User (ISU)
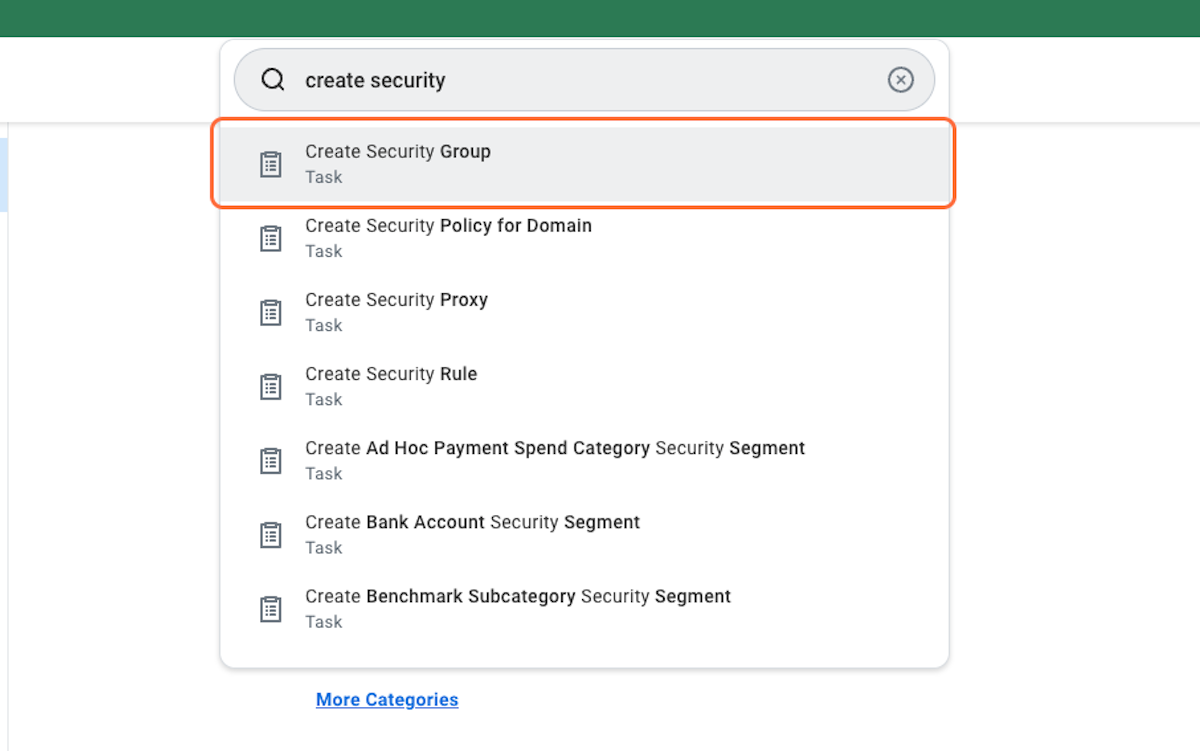
Navigate to the “Create Security Group” task. Make sure to set “Session Timeout Minutes” to 0 to prevent session expiration.
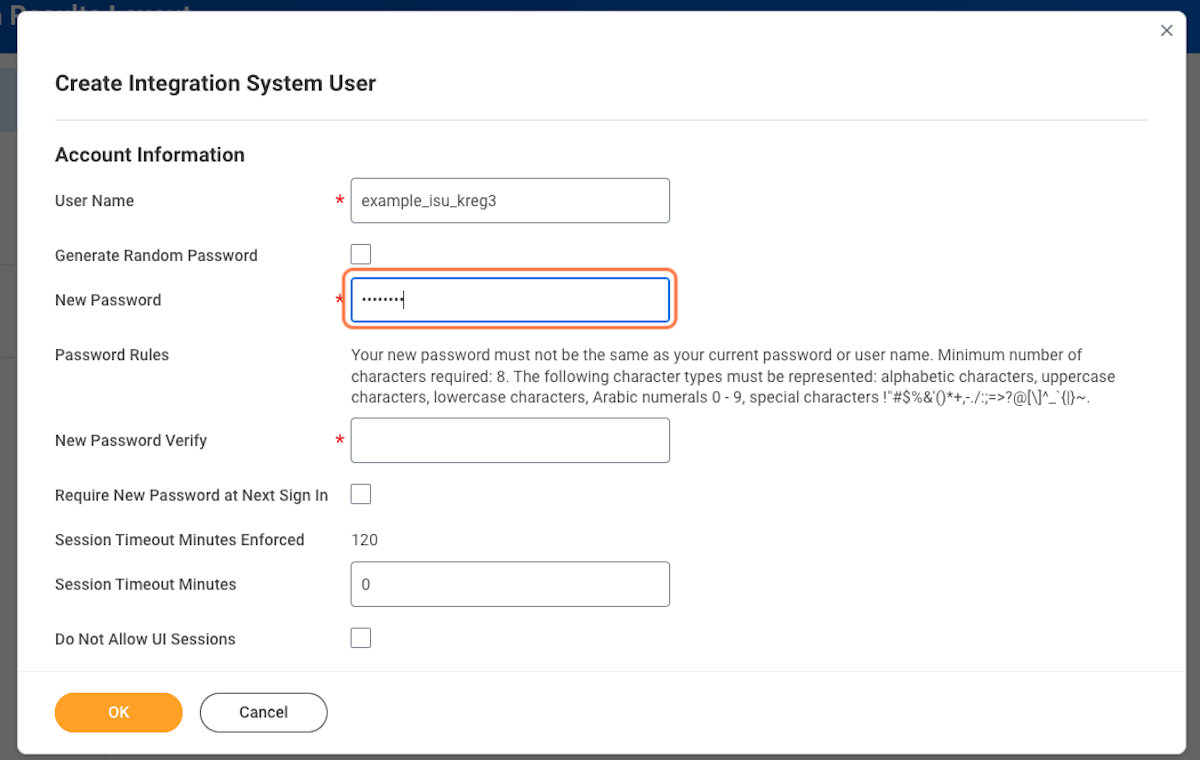
Select the “Create Integration System User” task and fill in the necessary information:
- Username
- New password
- New password verification.
Click “OK.
You will then need to grant permissions to this newly created group.
Configure Domain Security Policy Permissions
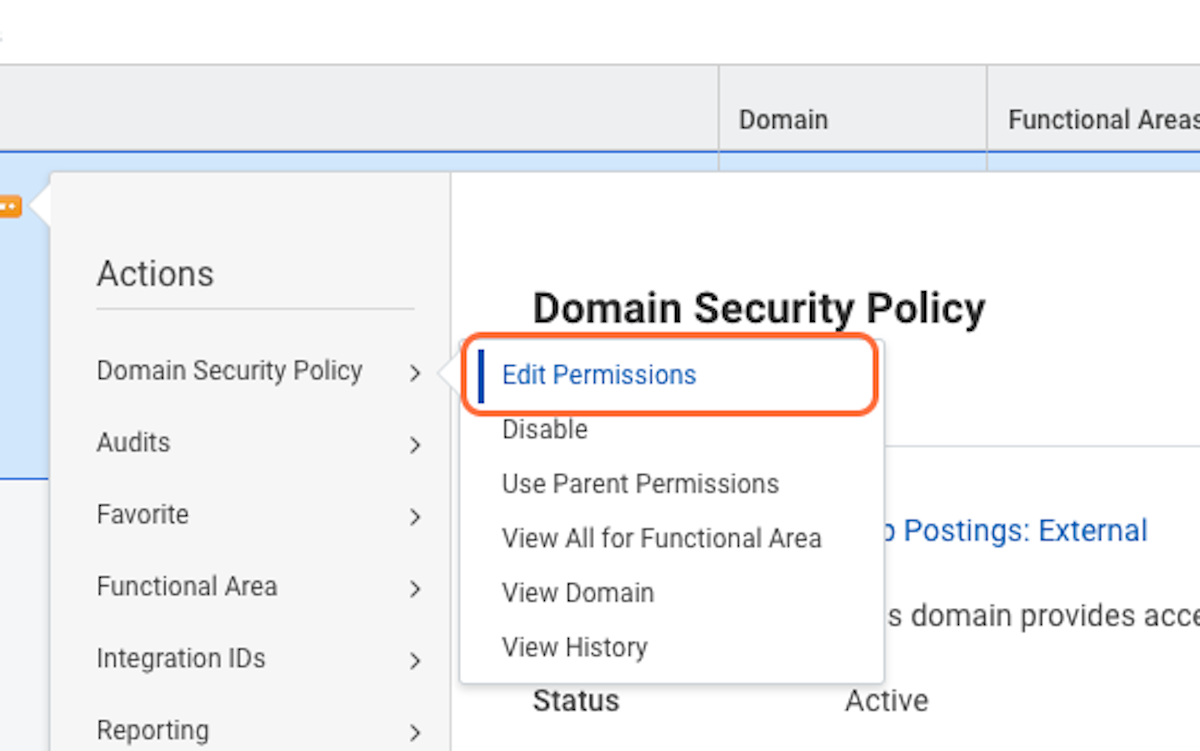
After completing the above, you’ll need to configure the domain security policy permissions. Head to the View Domain report. Click “Domain”, then “Edit Security Policy Permissions”.
Add the security group you just created and allow permissions for GET, POST AND PUT operations in the Workday web service. This includes:
- Person Data: Personal Data
- Person Data: Home Contact Information
- Person Data: Work Contact Information
- Worker Data: Compensation
- Worker Data: Workers
- Worker Data: All Positions
- Worker Data: Current Staffing Information
- Worker Data: Public Worker Reports
- Worker Data: Employment Data
- Worker Data: Organisation Information
- Worker Data: Time Off
Activate Security Policy Changes
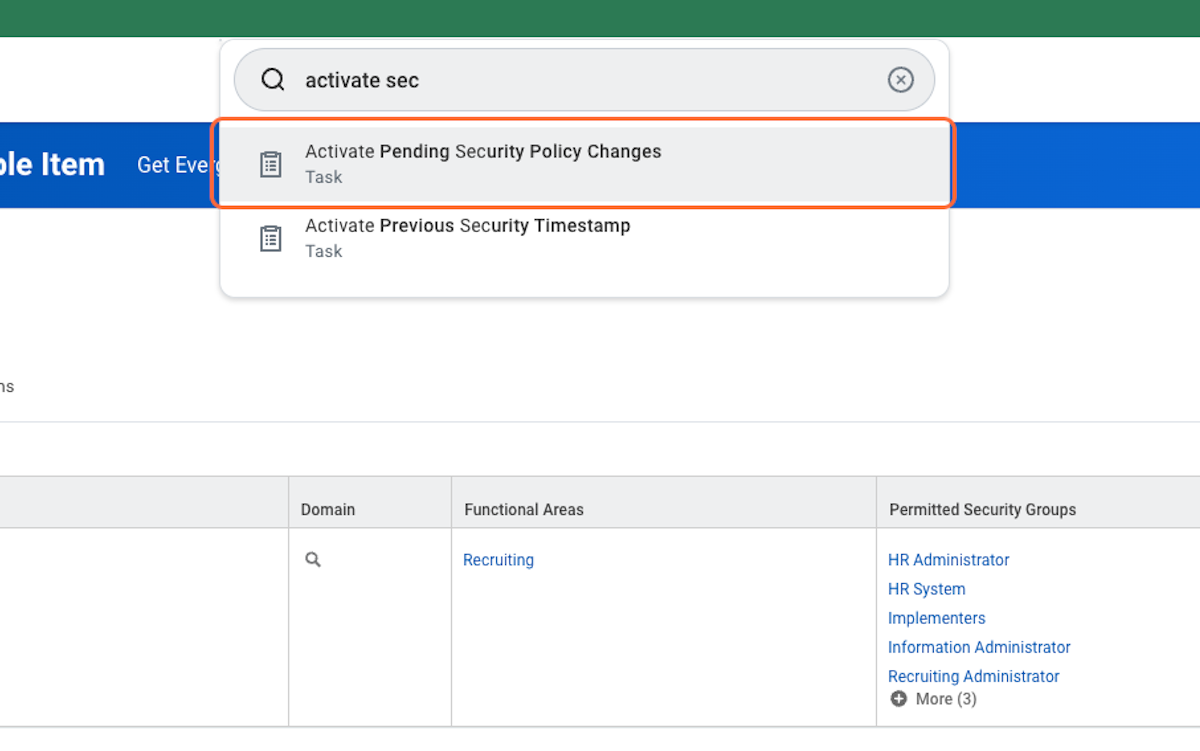
In the search box (again…), find the task “Activate Pending Security Policy Changes” and click it. Complete the task that opens on the screen by approving and activating the pending policies.
Setting Password Rules
Navigate to the Maintain Password Rules task and add the ISU to the System Users exempt from a password expiration.
You can also enable the “Do Not Allow UI” Sessions checkbox to block the ISU from logging in through the Workday UI.
6. Set Up Integration
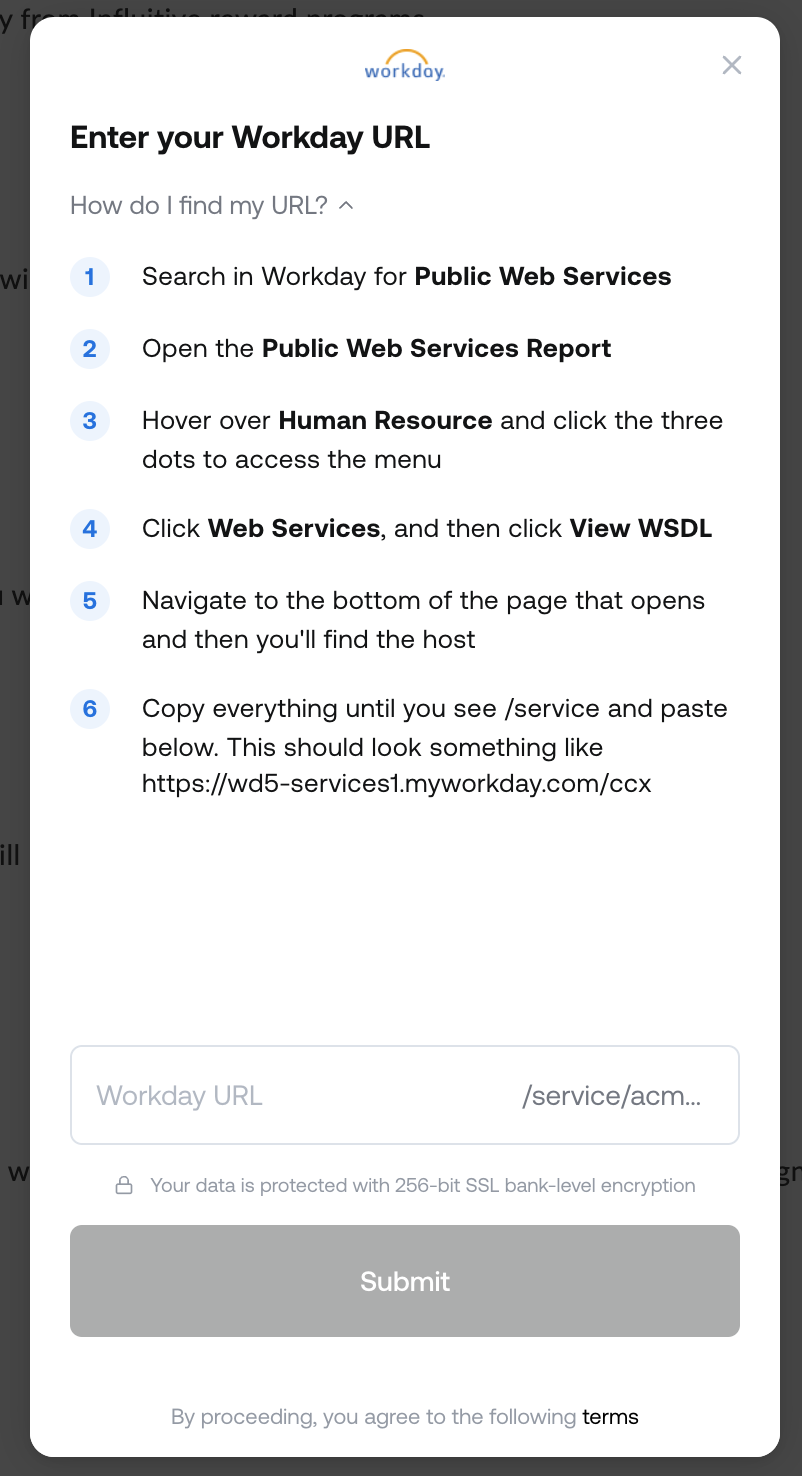
Once you’ve completed the above tasks, search for “Public Web Services” in the Workday search bar. Open the Public Web Services Report and hover over “Human Resource”.
Click the three dots to access the menu, then select “Web Services” and “View WSDL”. Go to the bottom of the page that opens and you’ll find the host.
Copy the URL you see. This looks something like this: https://wd2-impl-services1.workday.com/ccx/service/thecompany/Human_Resources/v35.0
Nearly there…
Click “Connect” on Workday integration and paste the WSDL URL link from the previous step. Then click the “Submit” button and you’re ready to go.
7. Connect Via My.Drewberry
Head back to your My.Drewberry tab and ensure the fields are filled. This includes the Tenant ID and WSDL URL.
Click “Save”. This integrates Workday with My.Drewberry.
How To Know The Integration Is Set Up
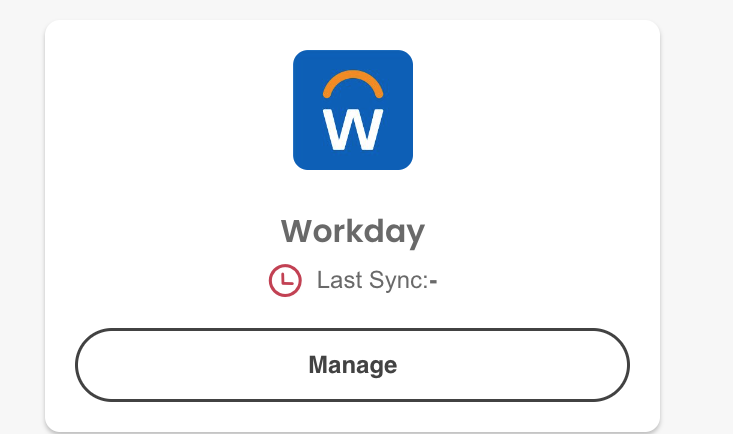
When Workday is successfully integrated with My.Drewberry, you’ll see a Workday card under the “Integrate HRIS” section.
After Setting Up The Integration
All sorted? Your employee data will sync every afternoon at 15:00 (BST). Workday will become your source of truth for your core employee data.
If you make changes in My.Drewberry to any of the information we sync to our platform, it is overwritten by the data in Workday the next day.
How To Disable Your Integration
It’s easy to disable your integration. Go to the integration section in My.Drewberry under “Manage Employees” and click “Manage”. You can disable the connection here.

