By integrating CharlieHR with My.Drewberry, you can sync your employee data automatically. Rather than manually adding realms of data, integrating saves time and a lot of hassle. See how CharlieHR integration works.
Check Your Employee Data
Before integrating, check your employee data is up to date in CharlieHR.
This includes:
-
- Employment Start Date
- Name
- Address
- Date of Birth
- Gender
- Salary
- Location/Site
- Employee Type
- End Date.
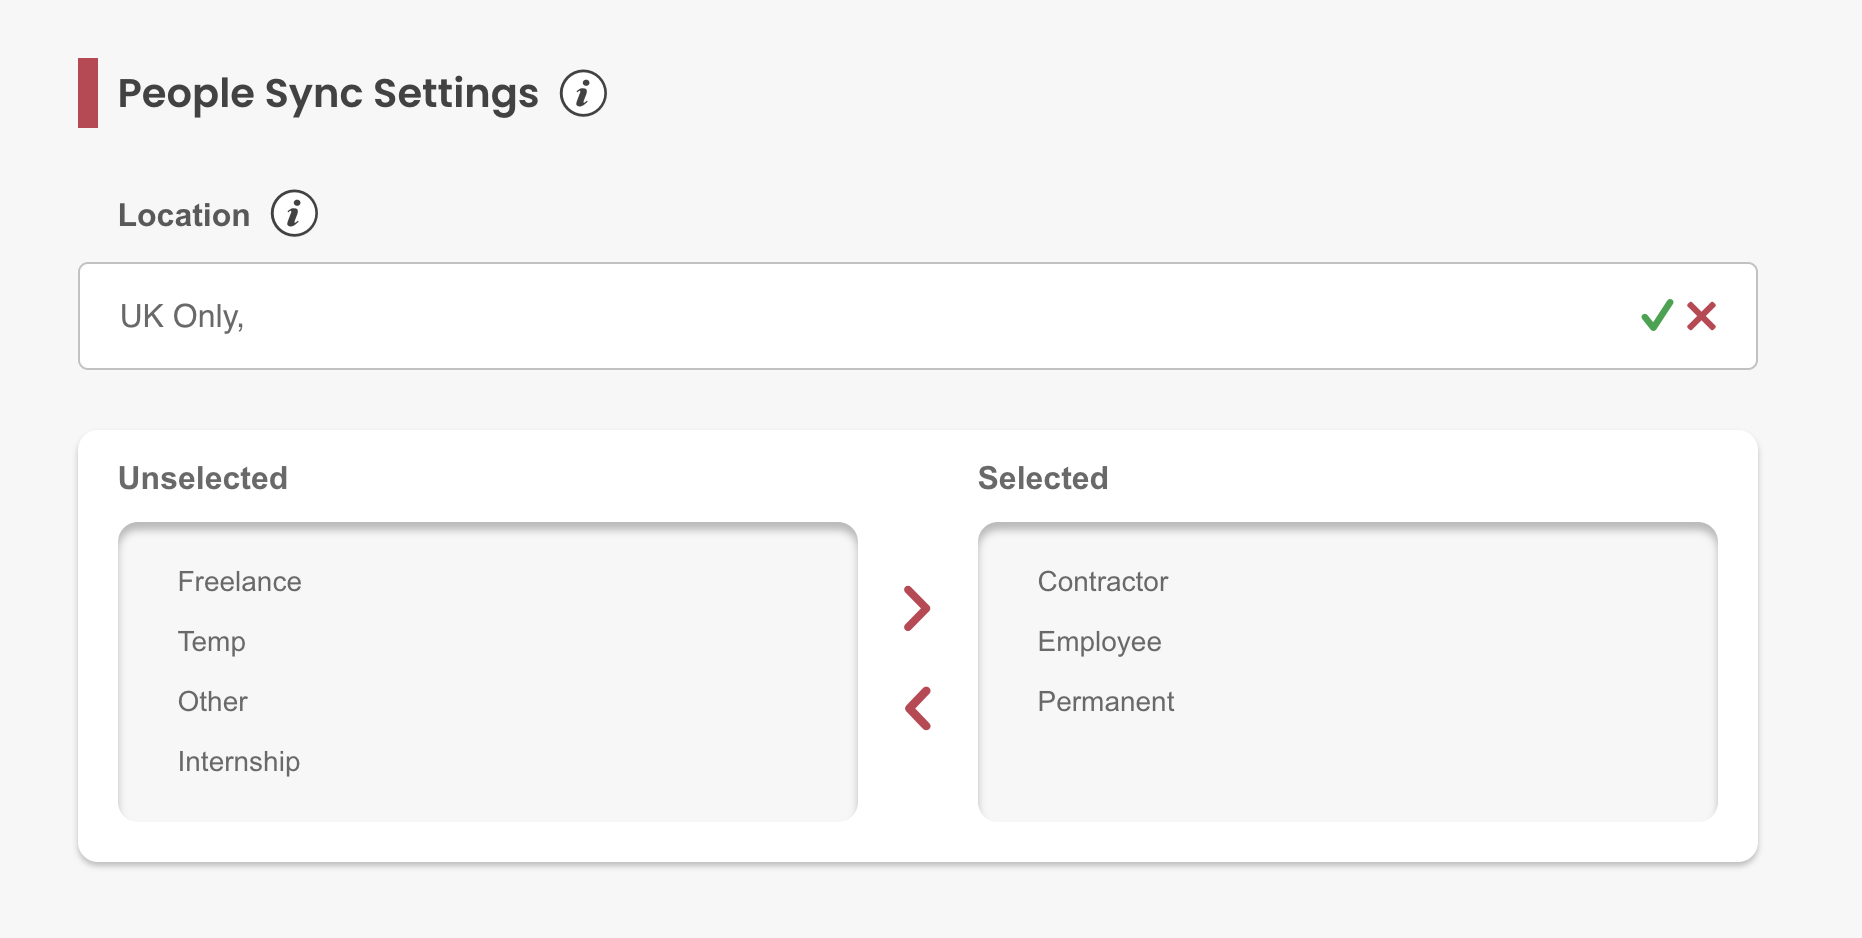
If you have more niche categories to sync, such as a workplace site/location, we can limit the data we gather based on these filters.
How Does CharlieHR Integration Work?
The integration will:
- Update any employees who currently exist within data from CharlieHR as per the data fields included above
- Add any employees who are in CharlieHR, but not in My.Drewberry based on the People Sync filter in our integration
- Move any employees past their end date to the leavers section and trigger the removal of these individuals from their benefits.
Once you’re up and running, any changes made within CharlieHR override any changes manually made on My.Drewberry.
New Joiners From CharlieHR
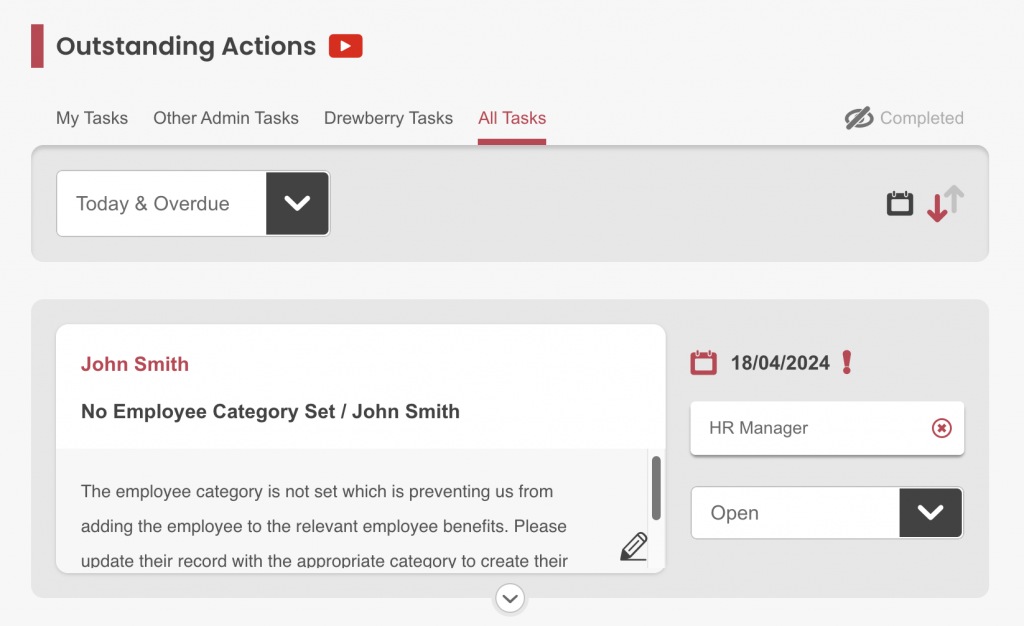
When configuring your My.Drewberry platform, we select an employee category to enrol employees into the benefits they’re eligible for. This feature is unique to My.Drewberry, which means it’s not set when new joiners get added to the platform via HRIS sync.
After adding a new joiner, you’ll receive a task to add them to the correct employee category in My.Drewberry. See the No Employee Category guide on the hub for more details.
Connecting CharlieHR To My.Drewberry
Integrating CharlieHR with My.Drewberry is easy-peasy. See how it works below 🤩
1. Go To The “Manage Employees” Tab In The Admin Centre
Click the “Integrate HRIS” icon to start the integration process.
![]()
2. Ensure Your People Sync Settings Are Correct
If there is a specific location or type of employee you want to sync, our People Sync function enables the data to be filtered from CharlieHR. By specifying the sites/locations, for example, we’ll limit the data we gather to those categories.
NOTE: If you leave the People Sync blank, all employees from CharlieHR will sync.
3. Add New Integration
After you’ve double checked your People Sync settings are right, click “Add New” to begin the integration.

4. Search For The CharlieHR Integration
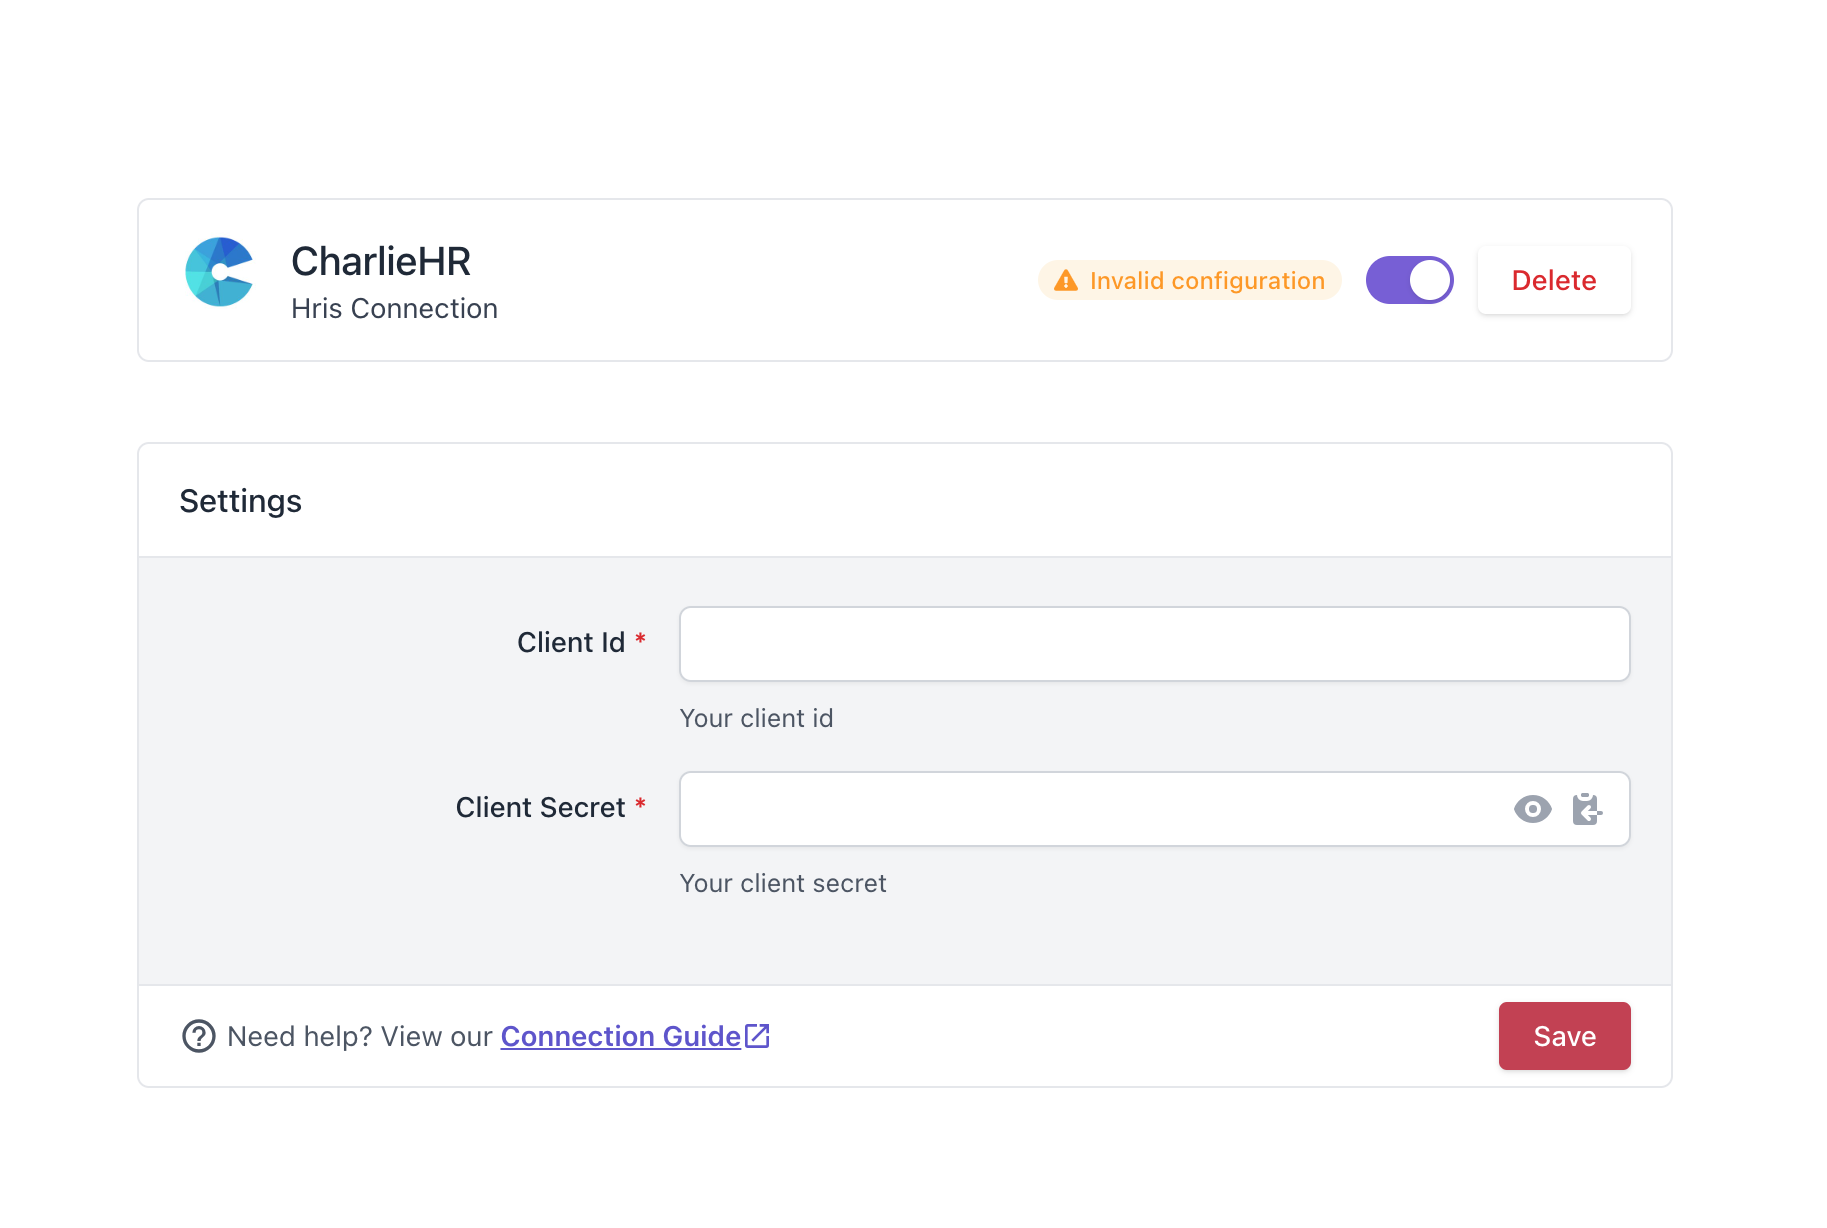
From the list of integrations, search for CharlieHR. You will be prompted to add a Client ID and Client Secret.
5. Head To CharlieHR
Sign into your account and…
Confirm Your Employee Data Is Accurate
Before you integrate with My.Drewberry, check the data you wish to sync from CharlieHR is the right information. You can do this within the “Integration Activity Log”, which is stored in your Company documents folder. This log shows which data is set to sync from CharlieHR based on the settings you saved. Check this log displays the correct data you want to sync.
Find The API Key
Log into CharlieHR. Click on “Integrations”. Then click “API Access”.
Go to the box on the right titled “Your API Keys”. Follow the instructions provided and generate the keys. This creates the Client ID and Client Secret you need to integrate. Copy this information and keep it safe-you’ll need it next.
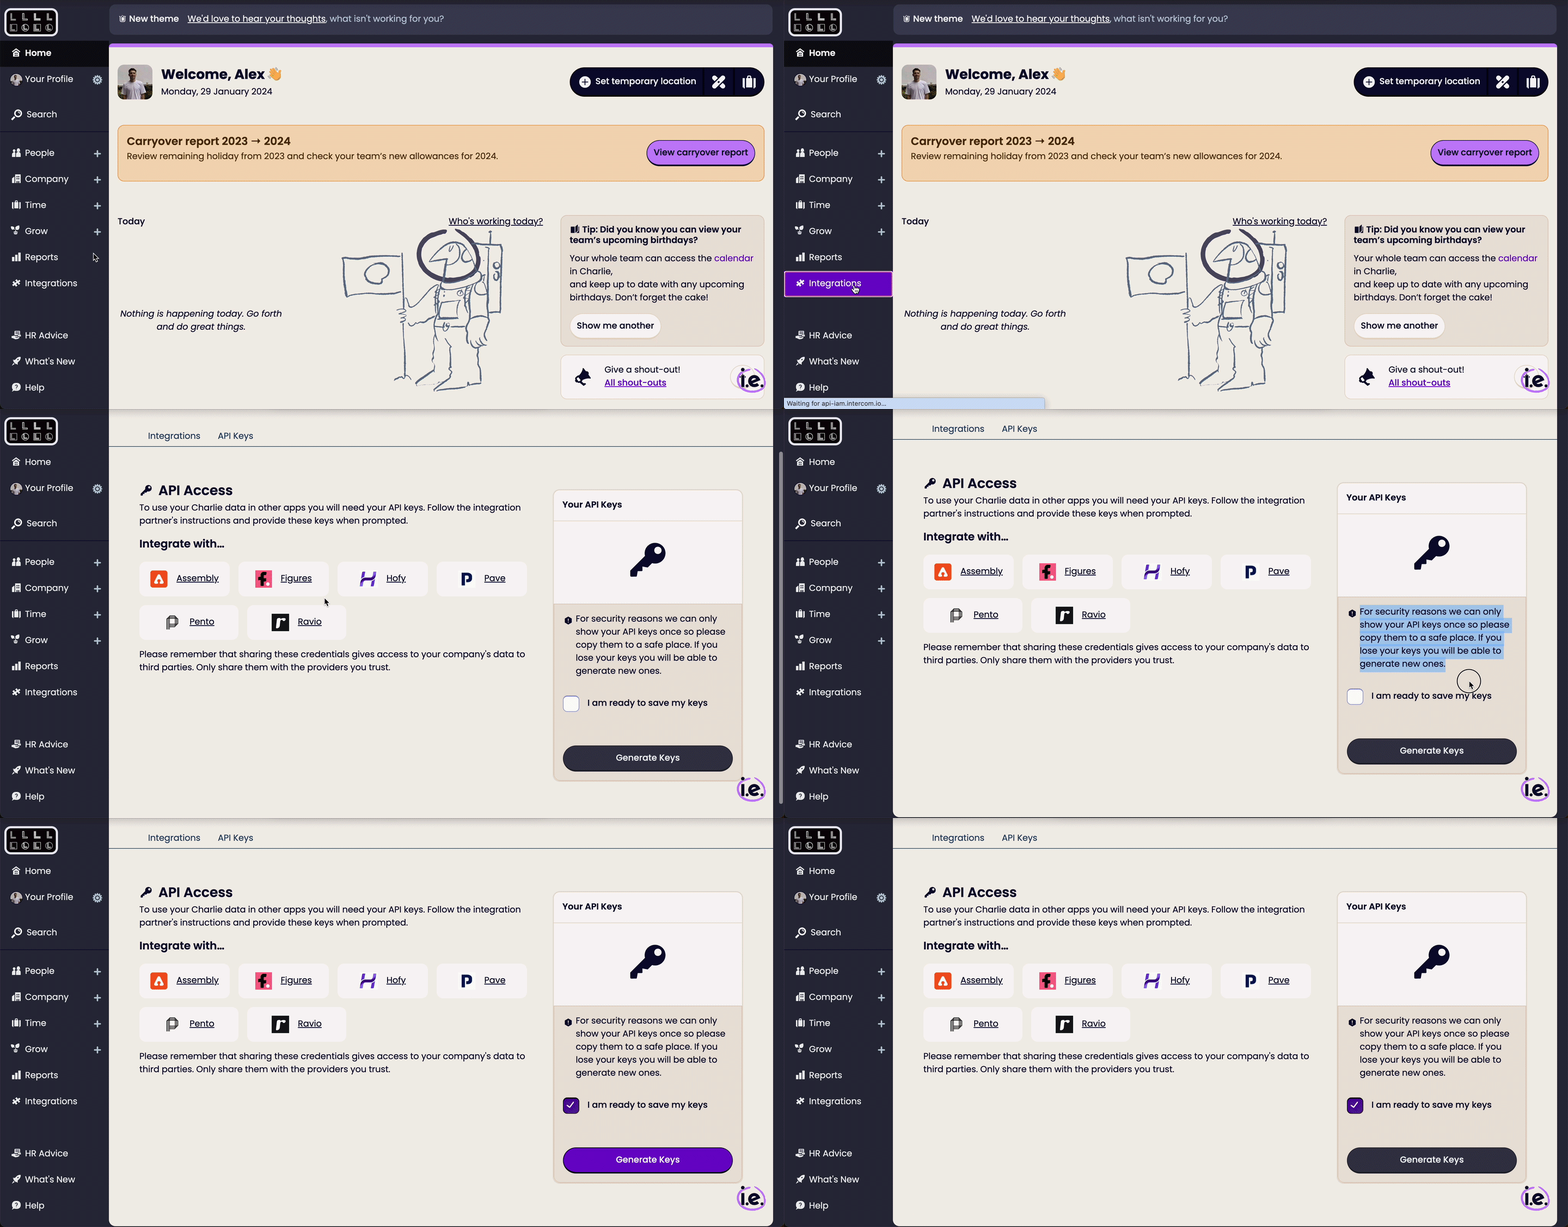
NOTE: The data is provided once, so you need to copy and paste it into another document. Once it’s copied and pasted, the data turns into ****, so you can’t view it again.
You can then head to the My.Drewberry tab to input the Client ID and Client Secret. Make sure to click save!
How To Know The Integration Is Set Up
You can see if you’ve successfully connected on your HRIS Integration page on My.Drewberry.
After Setting Up The Integration
Once successfully integrated, your employees’ data syncs daily at 15:00 (BST). CharlieHR will become your source of truth for your core employee data.
If you make changes in My.Drewberry to any of the information we sync to our platform, it is overwritten by the data in CharlieHR the next day.
How To Disable Your Integration
It’s easy to disable your integration. Go to the integration section in My.Drewberry under “Manage Employees” and click “Manage”. You can disable the connection here.

